The short version
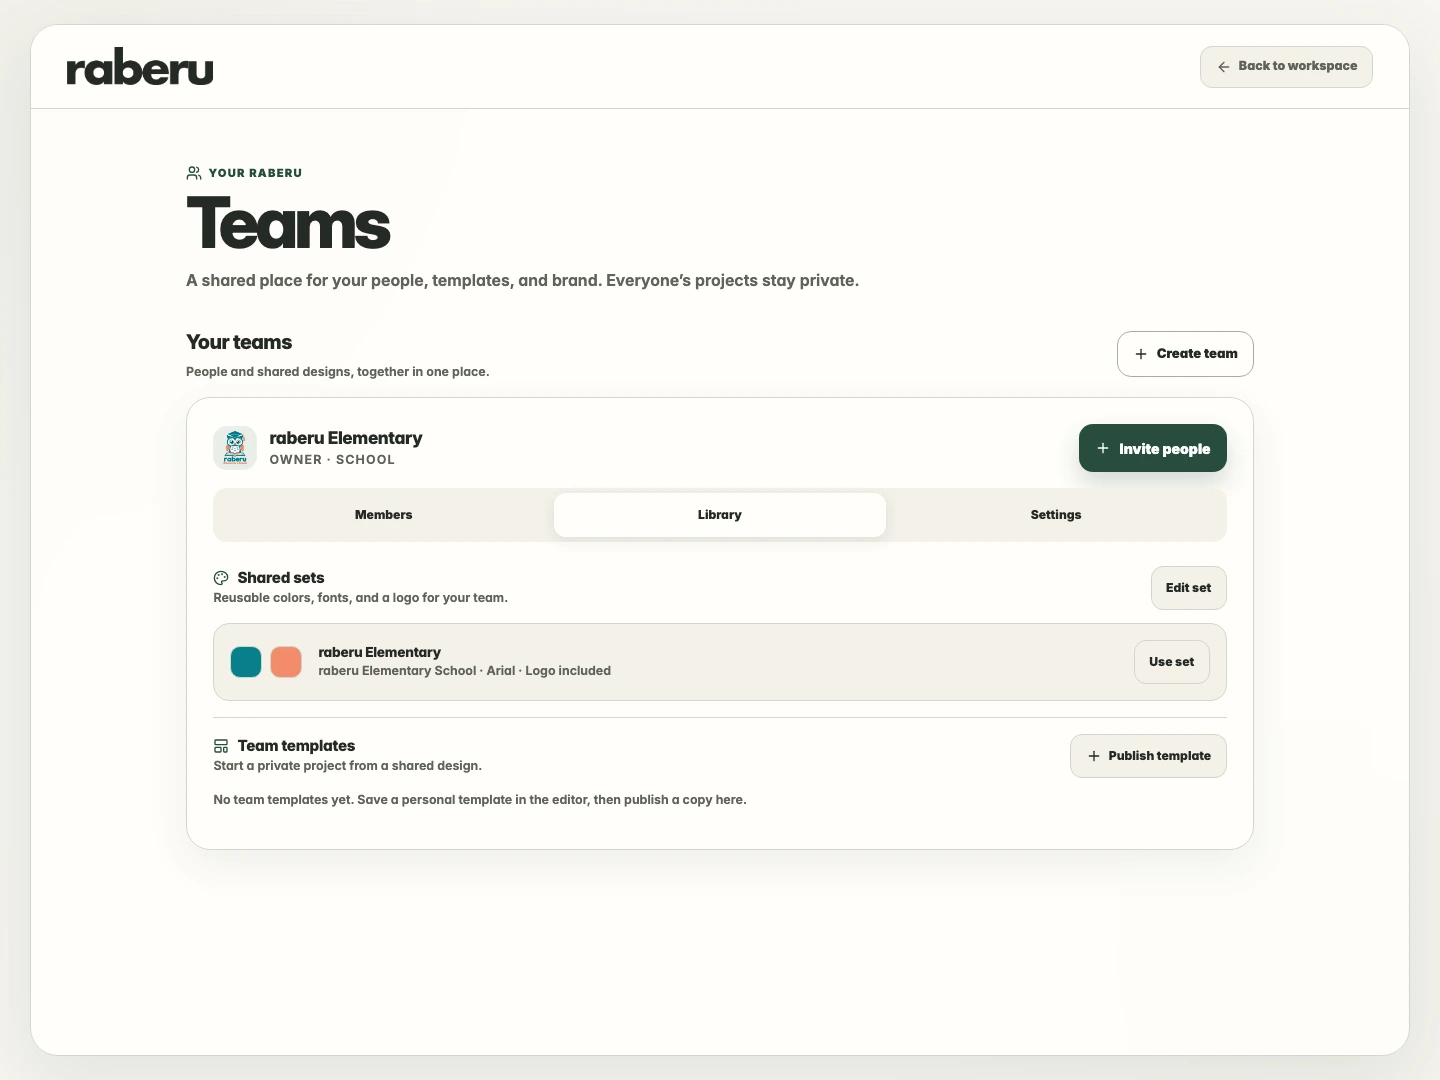
As a team owner or admin, open the school team’s Library and select Add set under Shared sets. Save the school name, logo, and style so team members can reuse them on compatible labels.
1. Add a set in the team library
Open your school team and choose Library. Under Shared sets, select Add set. If the school already has a shared set, choose Edit set. Owners and admins can make these changes.
2. Add the school identity
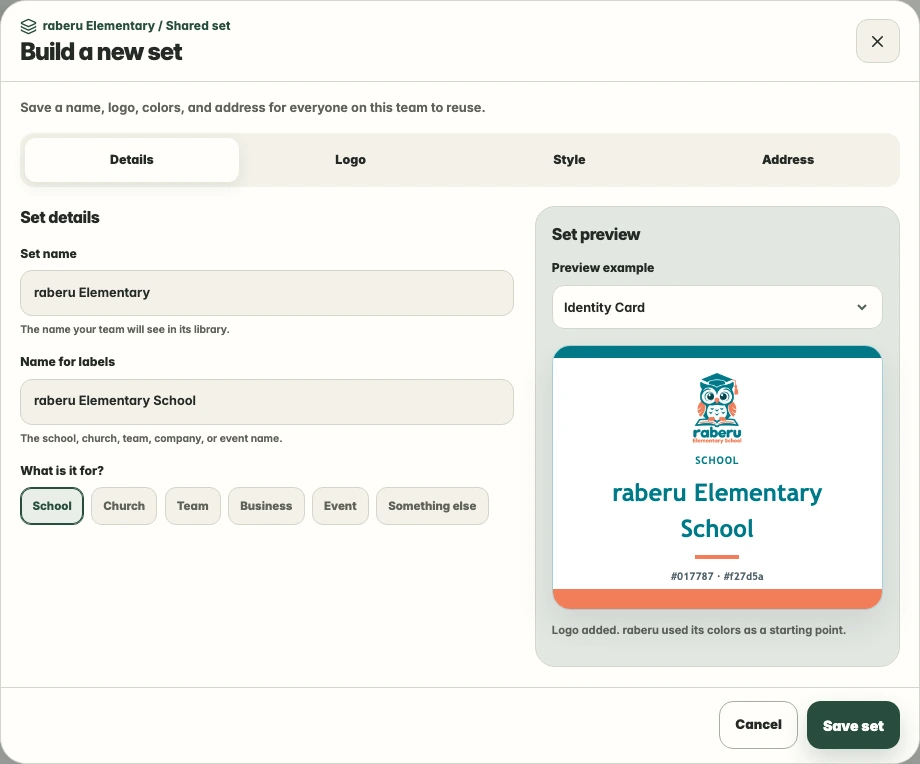
Give the set a recognizable name and enter the school name you want on labels. Add the school logo in Logo, and include a mailing address if your labels need one.
3. Choose the school’s style
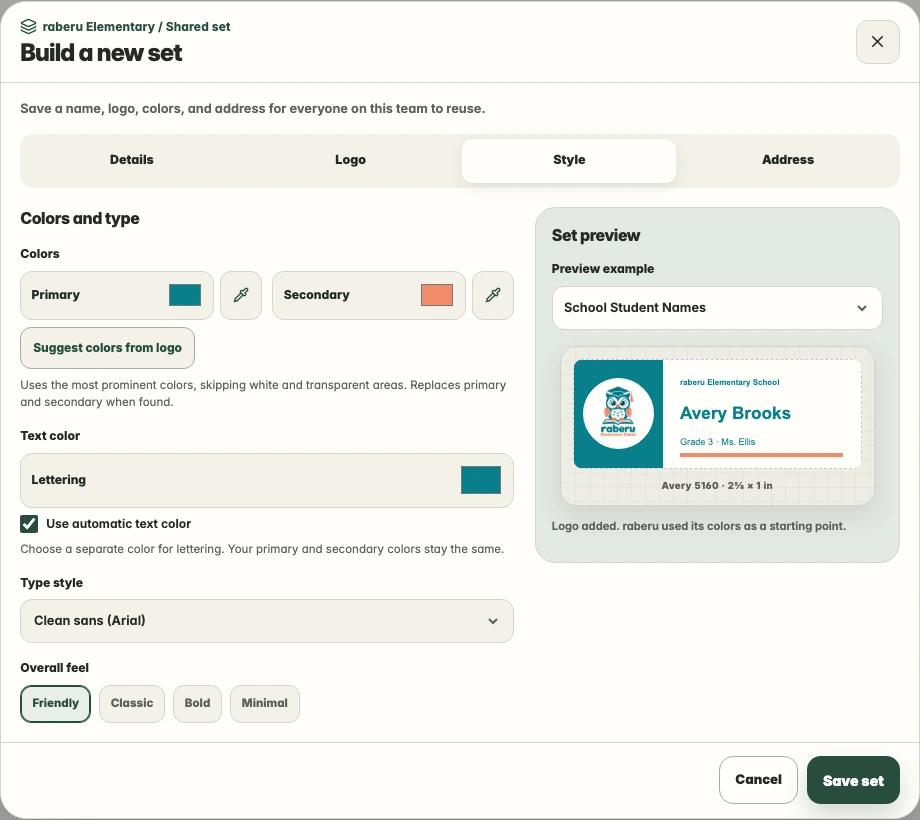
Use Style to choose the school colors, lettering, and overall feel. Review the preview on a compatible label design and adjust the details until they look right.
4. Save it for your team
Save the set to return to Library. Team members can use it from the shared library when creating labels.