The short version
Open your school team’s Library and select Use set to start a design with the school identity. For an open compatible design, choose Set in Fill labels and select Apply Set. Add the individual label content before printing.
1. Choose the shared school set
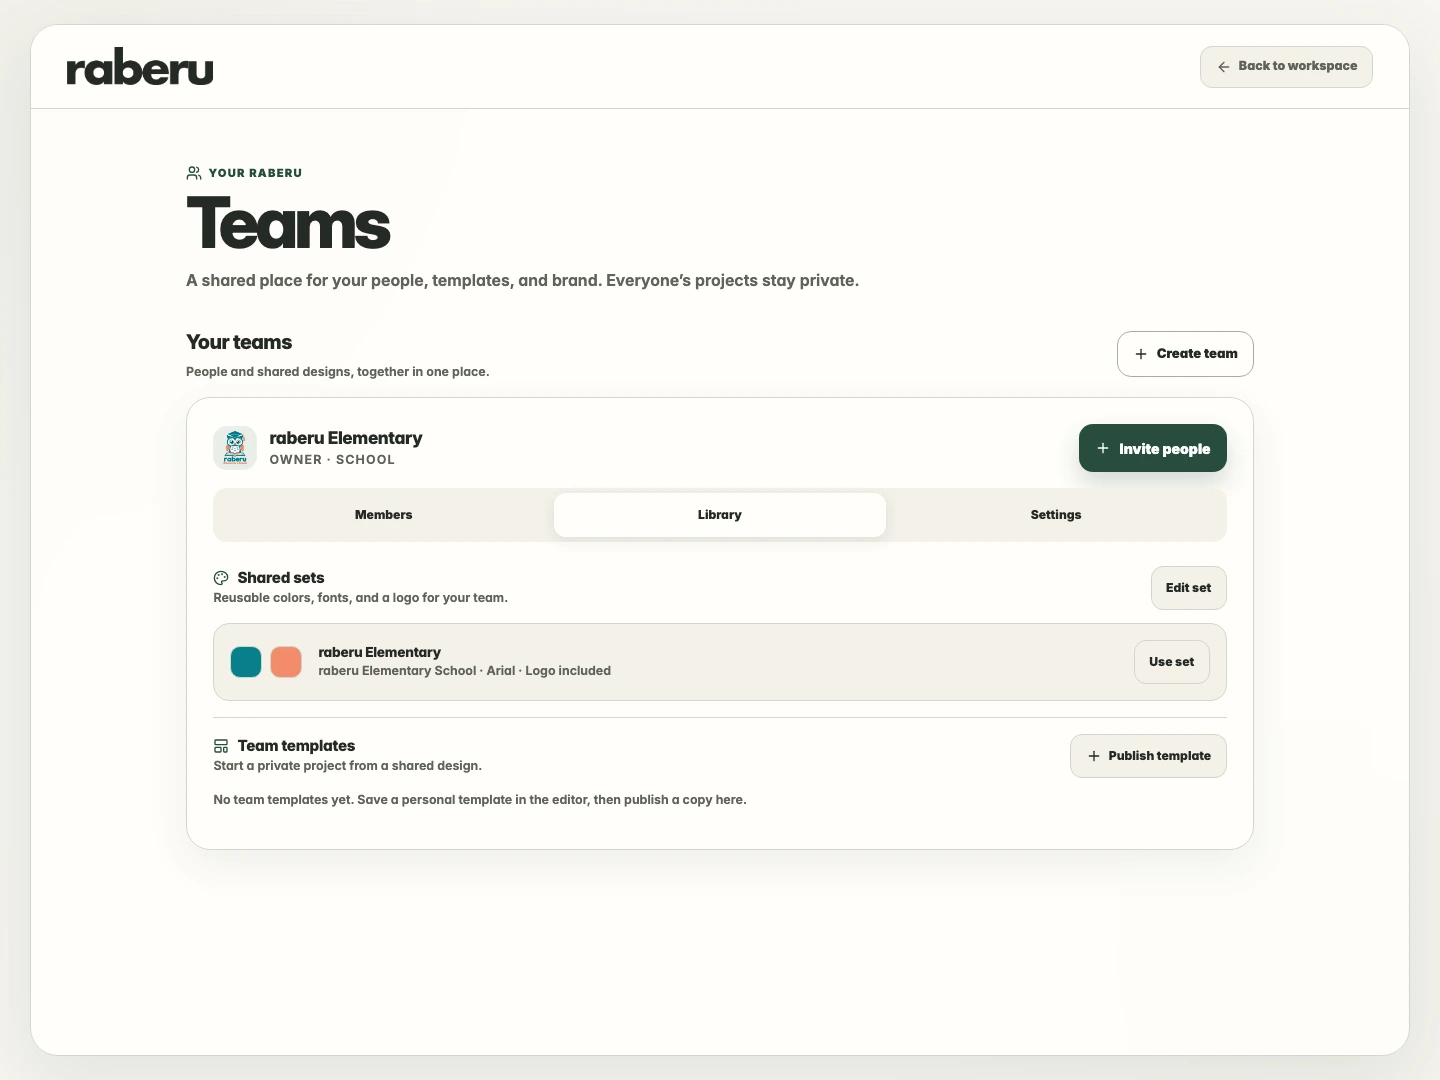
Open your school team’s Library and select Use set. raberu opens a matching starting design with the school details applied.
2. Use the set in an open design
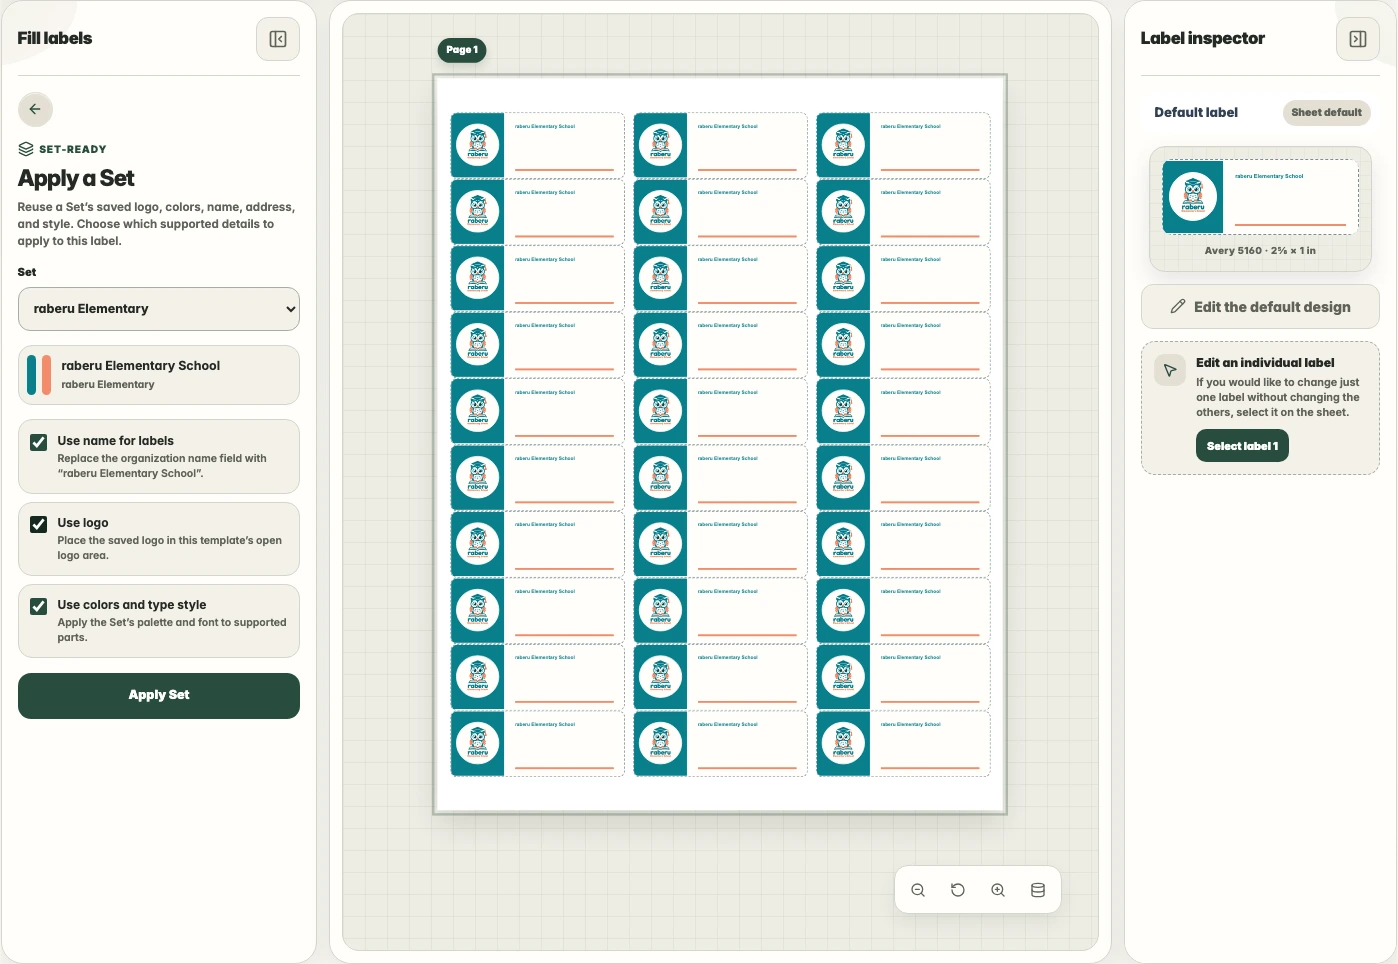
To use the school set in another compatible design, choose Set in Fill labels. Select the shared set, choose which supported details to use, and select Apply Set.
3. Add the label content
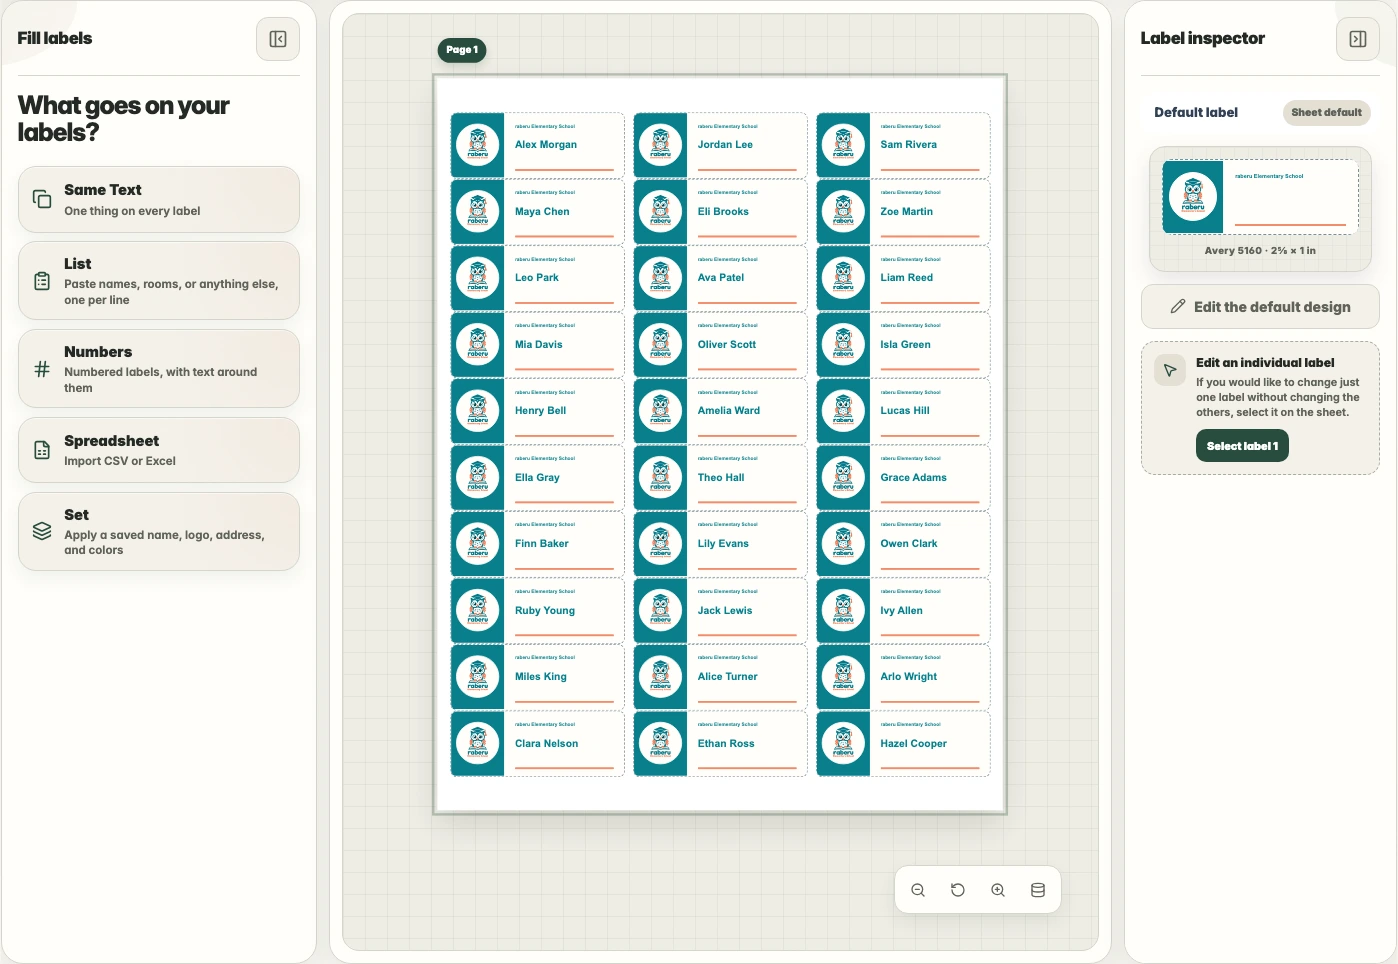
Fill the remaining fields with your names, classroom details, or other wording. Use List for different values, Same Text for shared wording, or Spreadsheet for several columns of information.
4. Review and print
Check the school identity, text fit, and placement across the sheet. Match the layout to your label paper and use Printer setup to check alignment before printing.
Help with print alignment